Printable Version The Insides - Creating Outdoor Buildings II

Author: Brian Lozier

Okay, first off, please make sure you understand the concepts and processes presented in the first Outdoor Tutorial. It is important that you not only know how to do the building, but also understand it. We'll go over it one more time just in case.

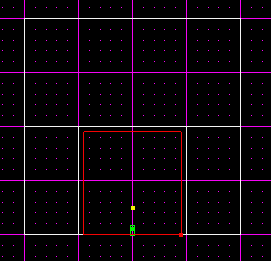
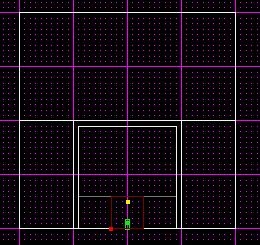
You cannot create a sector inside a sector. You can however, create a sector that appears to be inside a sector. You also can have a sector surrounded by many other sectors. Remember, the building that we deleted, there is nothing there. If you cleave out of the surface, and extrude, the extrusion will go into the building, but will actually be going outside the sector.

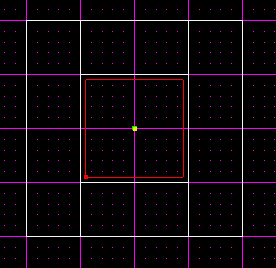
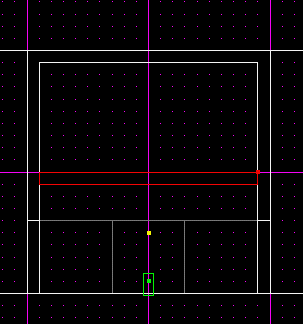
I hope that all made sense, so let's move on to the tutorial. I suggest that you switch your grid and snap to to 0.1. We need to work a little more detailed here than in previous tutorials.

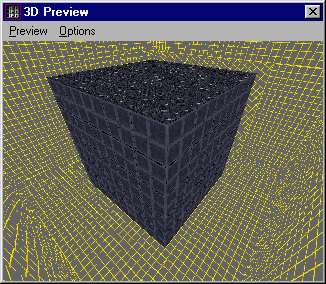
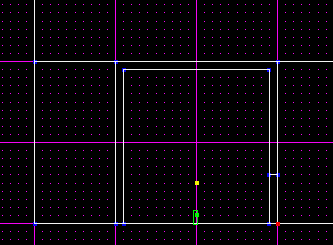
First of all, we're starting here where we left off in the last Outdoor Tutorial, so you should have a structure that looks like this:

  1. The first thing that that we are going to do is insert another sector into the center of the building. Remember, we CAN do this because there is really no other sector there. Essentially, our new sector will float in space until we adjoin it to something. So, switch to top view and insert a sector into the center of the building. Remember to make it 1 unit smaller than the outside. To insert a sector in JED Beta 5, press the [k] key and then click the mouse where you want it. In JED Beta 3, just make sure you're in sector mode, then press [Insert]. Make sure you check from the top view and side views to make sure your sector is where you want it. Remember, the new sector should be a walls' width away from the outside surfaces, not directly on top of them. Also, it is a good idea to make the bottom of the new sector equal to ground level or you will have a step up/down when we do the door.

    The sector you insert will most likely not be the correct size. The easiest way to resize is to select the sector, then go to vertex mode, and move the vertexes into the correct position. Remember, if you use the [n] and [p] keys, you won't have to worry about moving the wrong vertices, as they will just scroll through vertices in the same sector.

    See this example for how the top view should look.
    Notice that the inside sector is smaller than the outside sector.


    And this example for how the side view should look.
    Notice that the inside sector is smaller than the outside sector.


  2. Okay, that was easy enough. Now we have to create openings so we can walk in and out of the building. As of now, we have an outside, and an inside, but no doors/windows. Whenever I say "doors" in this tutorial, I basically mean holes in the walls to allow you to pass from the outside to the inside. I don't mean the doors that open and close and are controlled by Cogs.

    Okay, step 2 is to pick a surface on the inside sector, one of the walls, to create a door in. You need to cleave the surface into the shape of a door, like the following example.


  3. Now, you have to extrude it with the [x] key. Notice that it goes away from the inside, as it extruded to the outside of the current sector.

  4. Most likely your extrude extended beyond the outer wall, as mine has.


  5. So now we have to switch to vertex mode, and move the vertices so that the sector meets exactly with the outside wall.


  6. Okay, now for the adjoining. First, select the surface that is the outside wall that the door is connecting to. The easiest way to do this is to enter 3D preview and just click on the surface, then go back into the normal editing window. Then switch to a side view that enables you to see the whole face of the surface, as shown below.


  7. Now that you have the correct surface selected, cleave a hole in it that exactly matches the door you extruded.


  8. Now, if you cleaved correctly, you should be able to select the surface shown above, and press the [a] key to adjoin. Then, in 3D preview, you will see that you can now move into and outside of your building.


Now you have a building that appears to be outdoors. If you want to learn a little more, please read on...

We are now going to discuss how to make this building two stories high. The easiest way to do that, from this point, is to cleave the inside sector in two places, deleting the divider. See the illustration below.


Notice the sector selected. If we delete that, we end up with two separate sections to the inside of our building. From this point, you can either cleave a hole to make an elevator go up, or create another door on the outside, this time just a little higher. You can also combine what you have learned in other tutorials, such as the two-part Tutorial on Ramps.