Note: This is an old page that has been updated/formatted, you can view the original here.
Connecting Rooms Using Corridors
Author: DeTRiTiC-iQ
This tutorial assumes that you can already make an individual room.
Included: corridors.map (the final .map file for this tutorial)
-
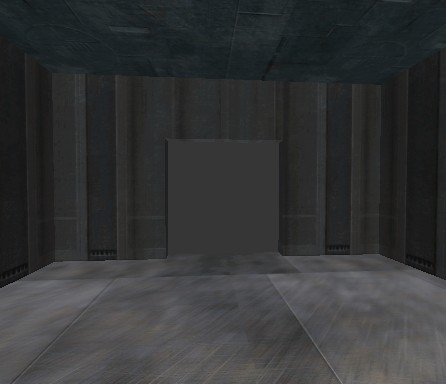
Start off with making a simple room:
-
Now select one of the walls and use the Clipping tool
 , cut a hole in the wall in the shape of the
corridor you want.
, cut a hole in the wall in the shape of the
corridor you want.How to use the Clipping Tool:
- Select the Clipping tool by press 'X' or by clicking the button ''
- Click where you want the clipping to start and where you want it to finish
- The part of the brush which will be kept is highlighted with a different colour (in my case, yellow)
- Press 'Enter' to confirm the clip, press 'Ctrl+Enter' to select the other part of the brush, or press 'Shift+Enter' to keep both parts of the brush.
- Select the Clipping tool by press 'X' or by clicking the button '
-
You should end up with something like this:
-
Now create an identical room but facing the opposite direction (you can select all the brushes in the room by shift+click, then duplicate with 'space', and finally rotate with
 ):
):
-
Using a similar method to what you used to make your initial room; create a long, open-ended room (ie 2 walls, ceiling and floor) that fits the holes in your main rooms:
(Note this is a view from the side) -
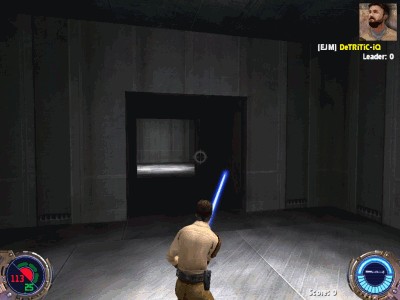
Now you should be ready to add spawn points and lights for a test compile. Here is a screenshot of the level running.