UV Mapping
Author: Michael Frost
In this tutorial, I will tell you about how I go about UV mapping. First of all, you should select the model piece you plan to UV map – lets pick the Torso from Mr. Box first.
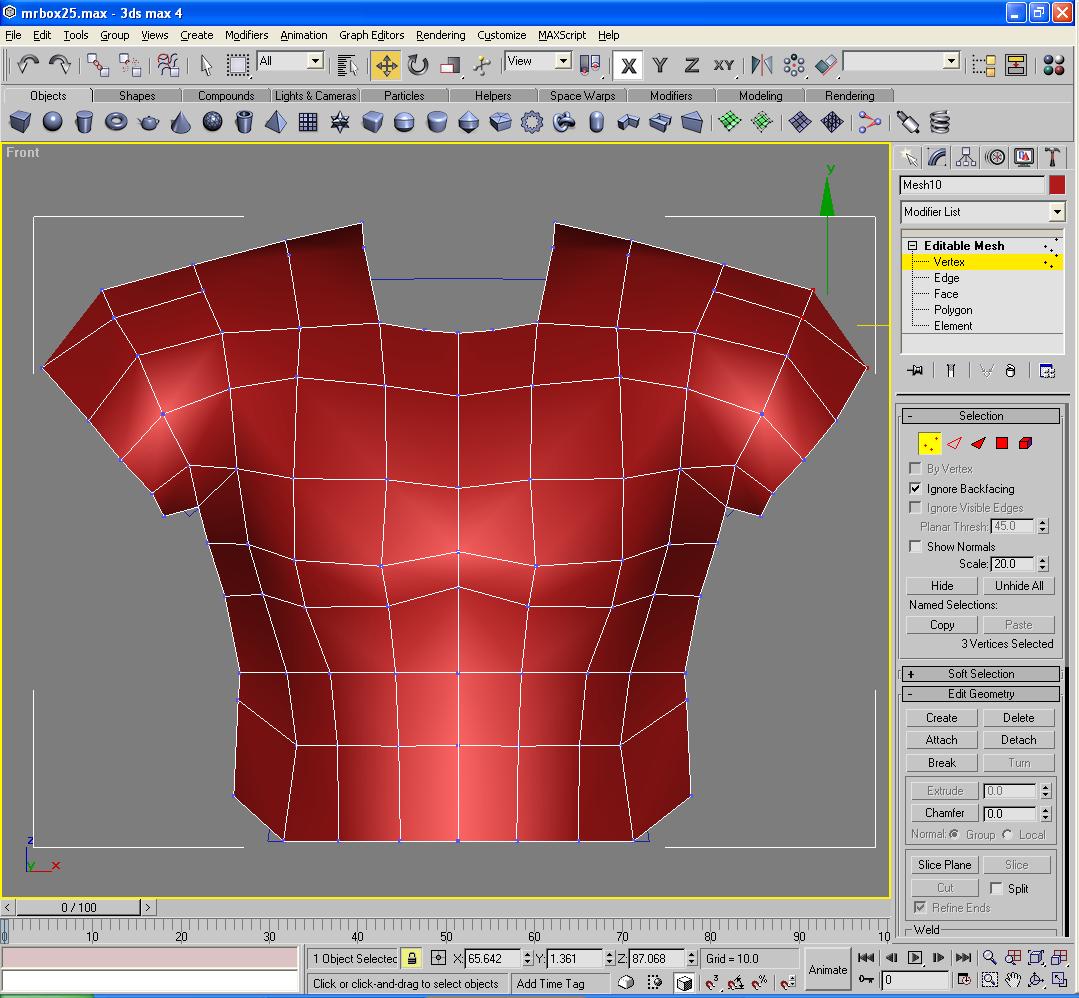
Go into Sub-object Mode, Polygon. Select all polygons along the front of the torso
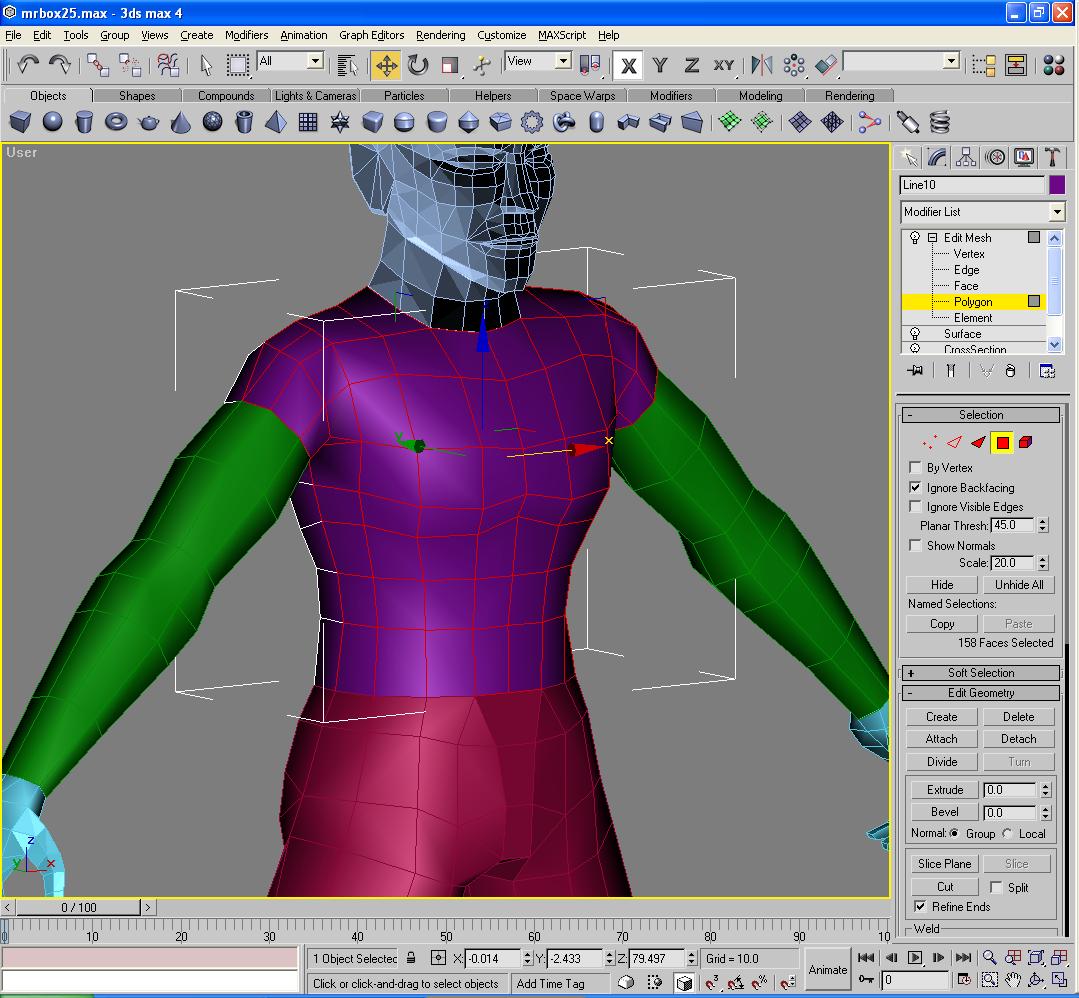
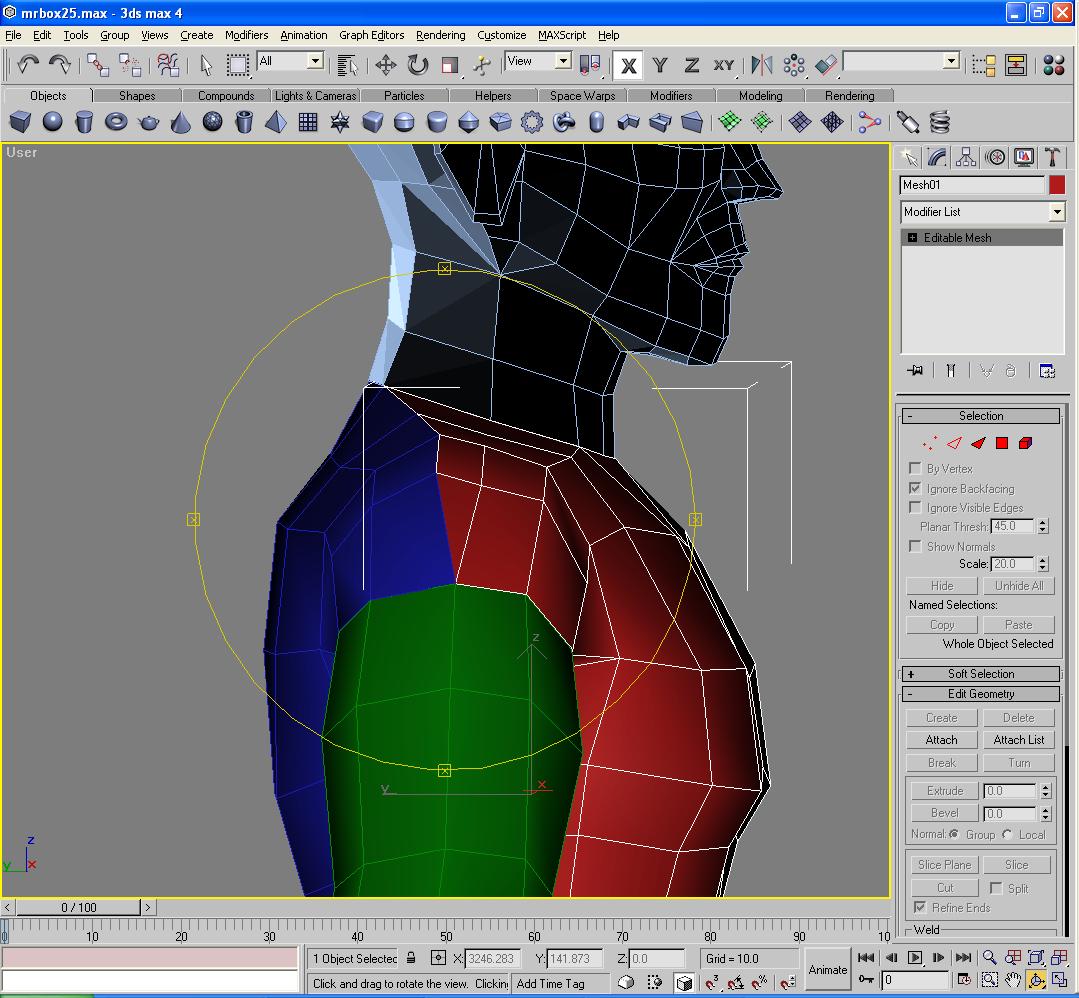
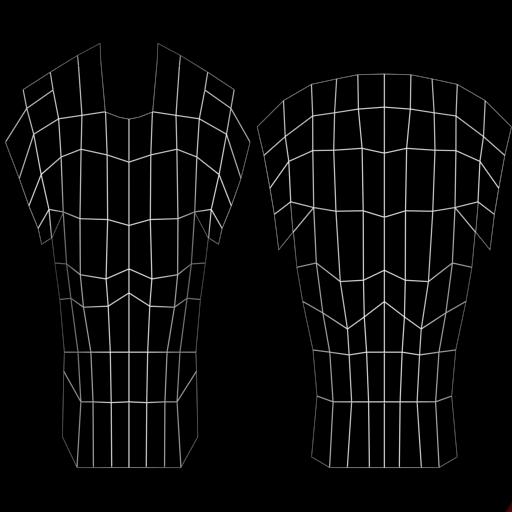
Click Detach, then click OK to the Detach pop-up. You will end up with this:
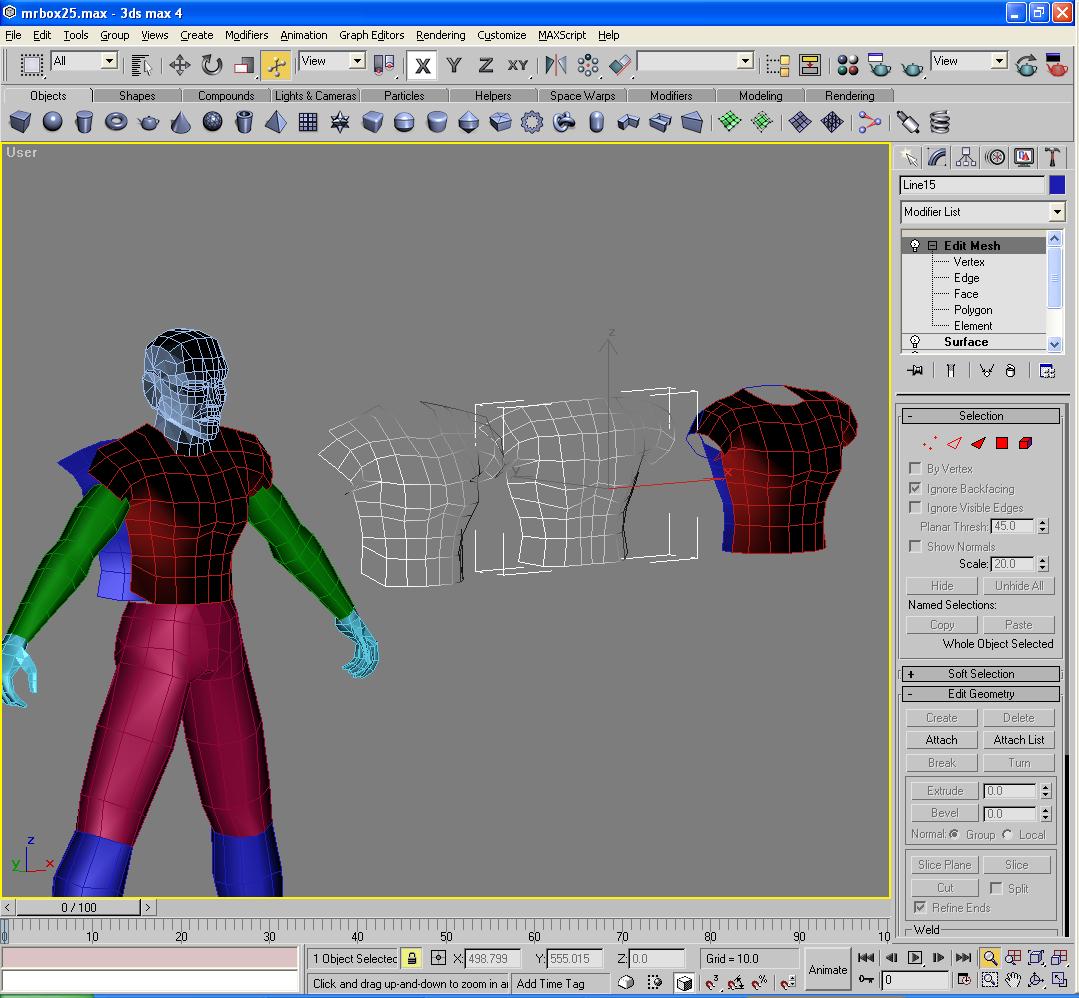
Now, you will want to select both the front and back parts of the torso, and make a COPY of them both. In other words, select both parts, hold down the shift key, then click and drag the parts horizonally in the viewport, as seen below:
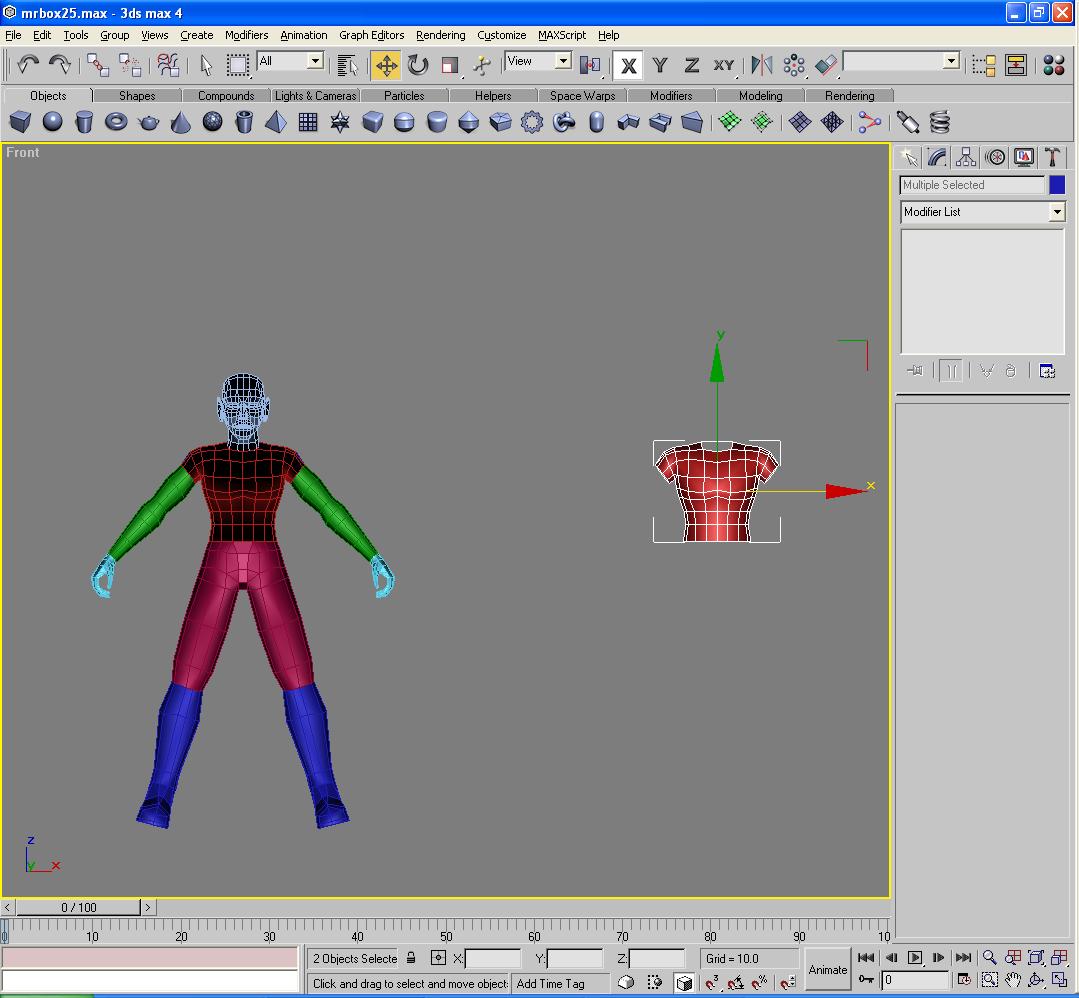
We are doing this so that we have a backup of the torso model. It will all come together in a minute…
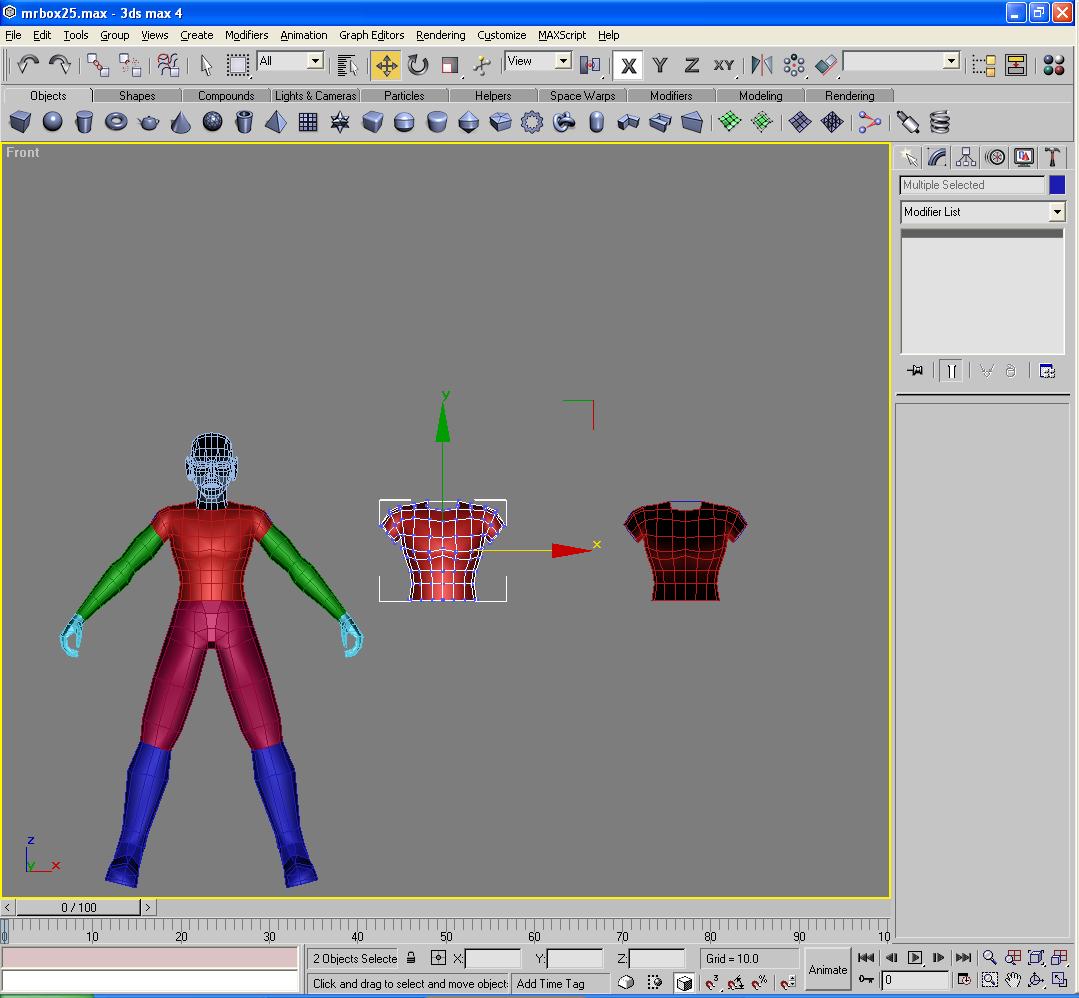
Now, select the original torso model parts, front and back. Select the model pieces, and shift-drag them again to make copies. However, this time, when the Clone Options pop-up appears, select Reference, and hit OK.
Now, the idea behind this is to take the polygons of the torso mesh, and make them all rotate to face the viewport, and lay them out flat.
DO THIS TO THE REFERENCED VERSION MESHES!!! NOT TO THE COPIED VERSION, NOR THE ORIGINALS!!!
I will take the mesh and start to flatten it out in the viewport, so that the polygons are as close to being viewed straight-on; this is essentially what a skin is.
What I do for my UV mapping textures is I lay the mesh pieces out flat in a viewport, apply a Wireframe Texture to the model piece, then Render the model piece via 3d studio max – this way I have a clean UV map texture for applying to the model, and it is fit to the exact proportions of the model.
Wireframe texture in 3D Studio Max
These are the settings for the wireframe texturemap:
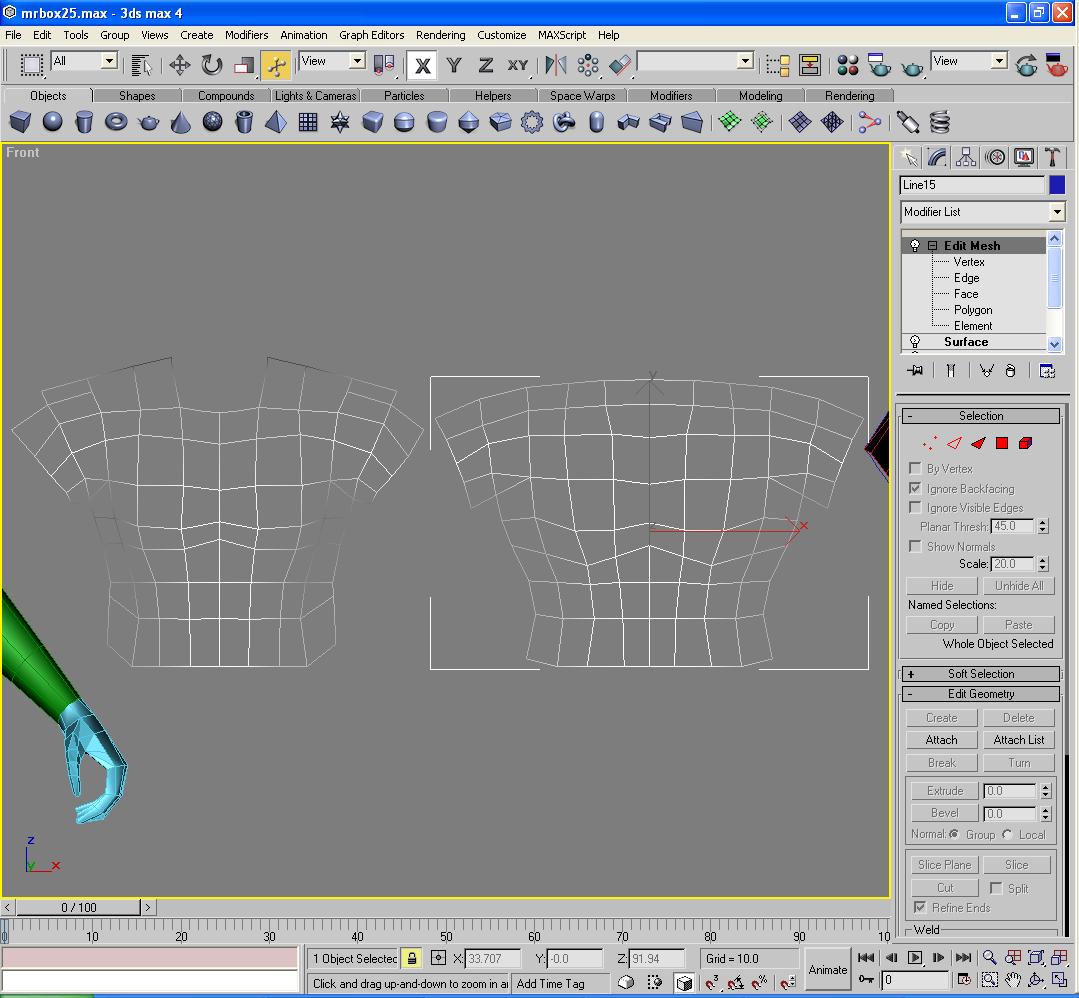
That is the laid out model piece right there. You will notice, as you move the referenced mesh pieces, the originals will move as well. You want this to happen, this is good.
And in turn, I do the same thing for the back of the torso. However, while moving the vertices in Sub-object Mode, I also selected all vertices, rotating the mesh in the process, to face in the front viewport.
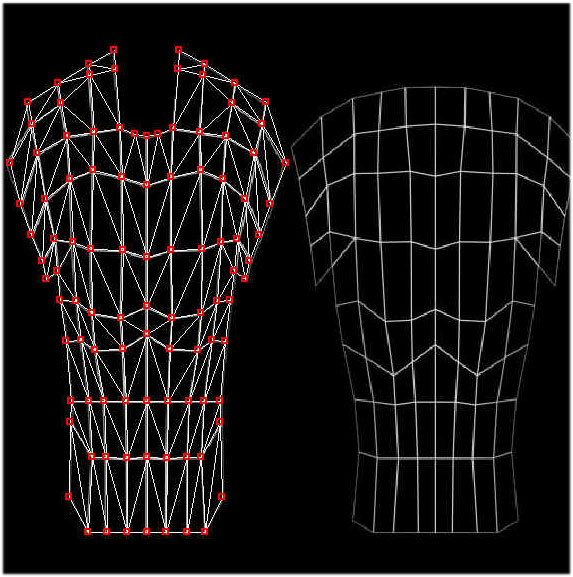
Here is the mesh laid out, with the wired texture, which I rendered in Max as Torso_UVMAP1.jpg, at a render resolution of 512x512 - Make sure your textures are rendered in multiples of 64 so Jedi Knight can read it – ie. 128x, 256x, 512x, 1024x.
Now, to apply this texture to the torso, first I will go back into 3D Studio Max, go into the material editor, and apply the Torso_UVMAP1.jpg file into one of the texture paths.
I apply the Torso texture to one of the laid out mesh pieces, either back or front of the torso, then I will apply a UV map modifier.
Within this modifier, make sure the Orange outline box is around the outside of your model, completely surrounding it, like so:
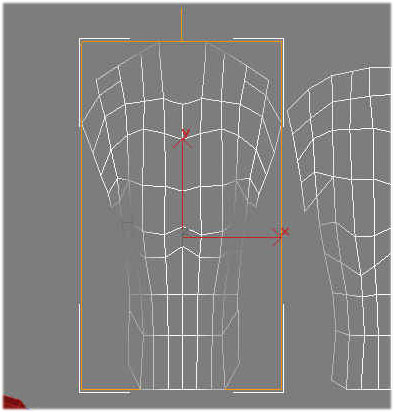
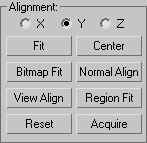
If the box does not surround the piece, or it is just a flat orange line in the middle, make sure within the Alignment drop box for the Uvmap modifier is setup for the proper Axis, X Y or Z, and hit Fit to see if it surrounds the model piece.
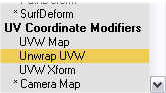
Now, once the UV map gizmo is aligned, apply an Unwrap UVW Modifier in the modifier menu to the model piece.
Under the Unwrap UVW modifier control menu, under Parameters, select Edit. You should see this:
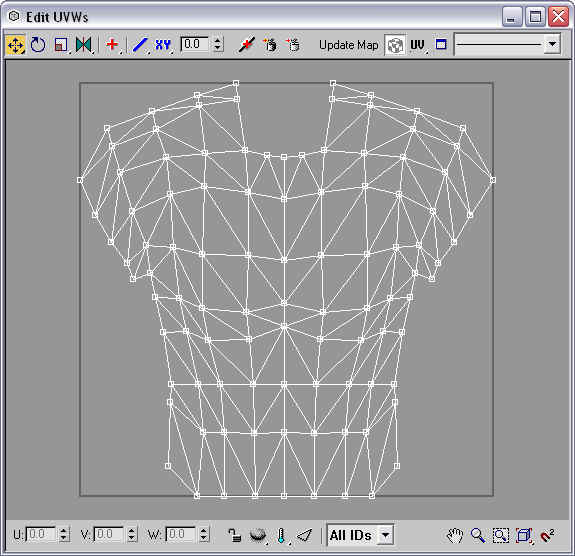
You should have the Appropriate texture map show up in the Unwrap screen; if not, in the upper-right corner, click on the drop box with the line through it and select "Pick Texture". Point it to your JPG bitmap and line up your model vertices to the texture map.
After you have setup the vertices for the model part, you want to now apply a new modifier to your newly UV mapped model piece.
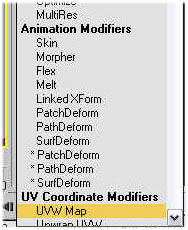
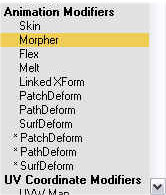
Morpher
After applying the Morpher modifier, scroll down to the Create Morph Target box in the morpher modifier rollout.
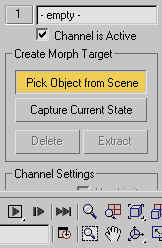
Click on "Pick Object from Scene" then select your original reference piece to your UV mapped model piece. It should allow you to click on the reference piece.
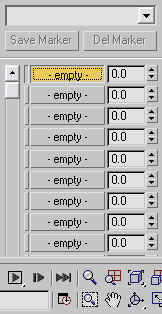
Your first box, highlighted yellow in the sample image, should list the name of the reference model piece. Change the 0.0 to 100.0. Your UV mapped piece should now morph back to its original shape! Yay!
Move it into proper position for your model, wherever it may happen to be, the head, torso, whatever, and then wash, rinse and repeat for the rest of the model, the arms, legs, back, head, etc! I will leave it up to you where you decide to split or not split your model if you want to continue this technique. It is what I find most useful for me and gets me very accurate results, and easily controlled seams on the model. With this you should create a sample texture set of wireframes that you can apply to your model and use for testing, then substitute in completed, painted textures on your model!