Note: This is an old page that has been updated/formatted, you can view the original here.
Basic Doors 2
Author: Tim "Slug" Hayes
We'll be using the default sector. Before you start though, go to "Tools, Options, and click on the "misc options" tab. Un-select "move thing frames when thing moves".. This tutor won't work if you don't do that.
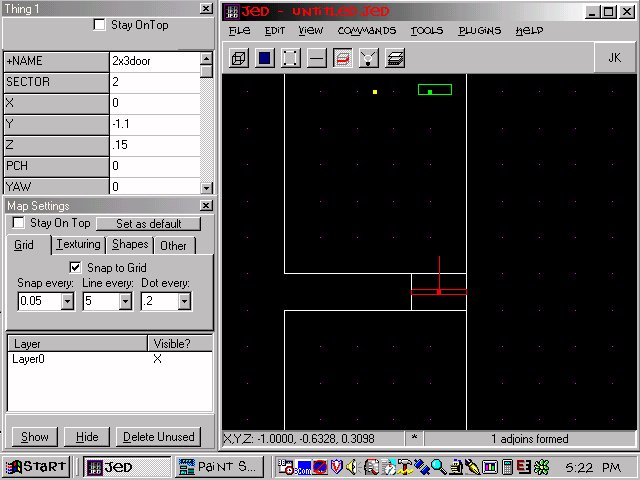
Go to sector mode and press insert.. This will insert a copy of the default sector.. Place it 0.2 away from sector 0 as the picture shows.
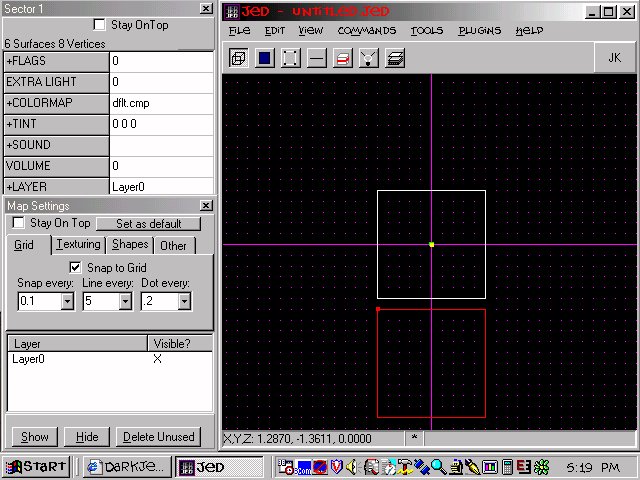
Select one of the two surfaces (one per each sector) that are 0.2 away from each other.. If you're confused, refer to the above picture. When you have one selected, go to side view and cleave a 2x3 doorway into it. Do the same for the surface of the other sector, making sure that in side view, the cleaves line up. Use a grid step of 0.1 for accuracy.
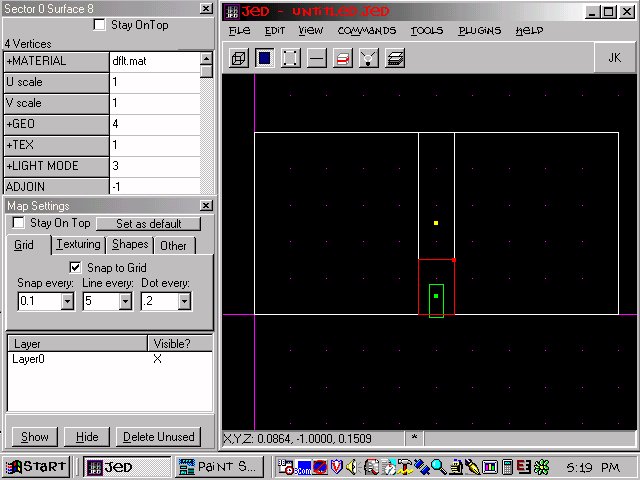
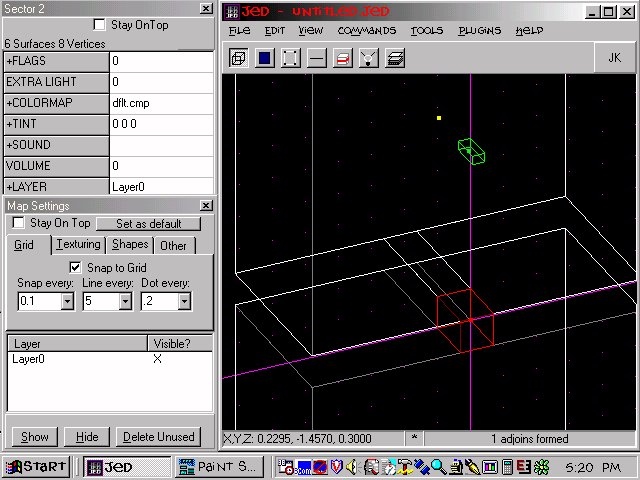
When both doorways are cleaved, select one and hit "X" to extrude it.. Go to top view and shorten the extruded sector so that it fits snuggly between your two main sectors. Adjoin the hallway to both sectors (it should already be adjoined to the one you extruded from.. adjoin to the opposite sector)and check the 3d preview to make sure that you adjoined correctly.. You should be able to see through the hallway from one sector to the other.
Now place a 2x3 door in the middle of the hallway. Check from all angles to make sure it's fit perfectly into the hallway, it should not be sticking out of the hallway at all.. If necessary, lower your grid step to 0.05 to get a bit more manueverability when moving the door around.
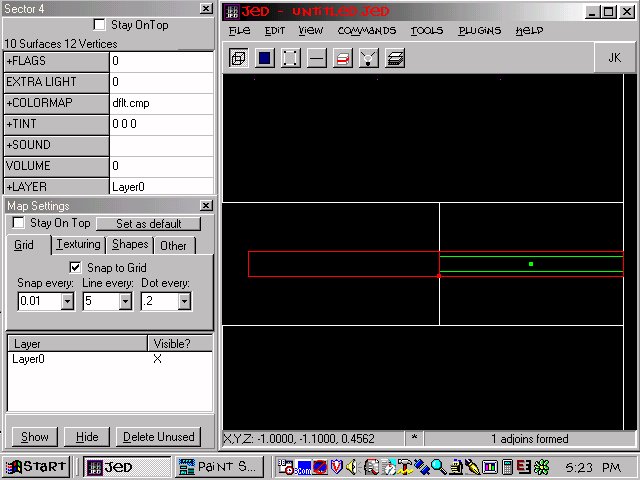
Go back to side view and go to sector mode. Using a grid step of 0.01, cleave out a sector that is barely bigger then the door itself. Extrude the top surface of this sector and then merge the two sectors. See the picture if you don't understand. It's crucial that you merge these two sectors, as doors start doing strange things if they aren't confined to 1 sector.
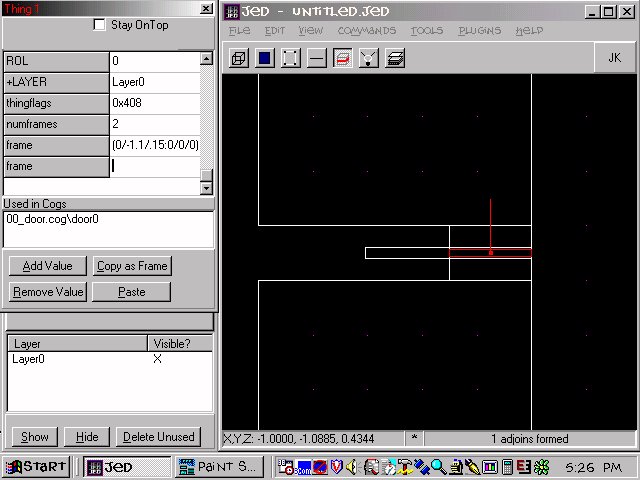
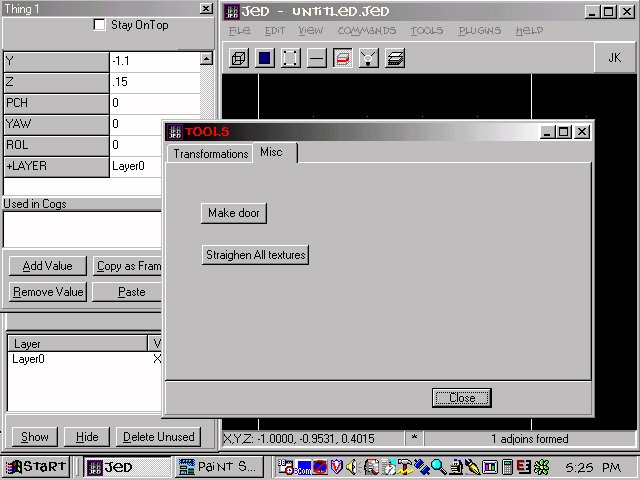
Go to thing mode and select the door. Hit F9 to bring up the tools window, hit the "misc" tab, and click on the "make door" button.. This will add some new fields to your door (I'll explain them in a second), and add a cog to "placed cogs"..Close the tool window when you're done.
Still in thing mode, hit "enter" to invoke the thing editor.. If you scroll down, you'll see new fields. They are:
| Thing Flags | These control various things about the door. Don't worry about them |
| numframes | This is how many frames your door will have. Don't worry about it |
| frame | These are the coordinates for your frames |
To find the coordinates for your frames, simply press the button in the thing editor that says "copy as frame". Then click on the first "frame" box and right click with the mouse. Select paste, and voila.. Frame 1 is done.
To get frame 2, go to side view and move the door up as shown in the picture below. Press "copy as frame" again, and this time paste in the second frame box. Move the door back to it's original position and you are done.. Save and test the level, you should have a fully functioning door.