Character Model Import Tutorial - 5
Author: Michael Frost
Setting Up the Skeleton
Now to get the model in the game. What you will want to do is save your model as a separate MAX file (e.g., MrBoxFinal.MAX) and then simply open up our existing skeleton and bolts file from before (included with this tutorial), which was weighted out already. After opening the skeleton, go to Max's Merge function:
(File > Merge), select your model's MAX file from its location, and you will merge your model with the scene, as demonstrated below.
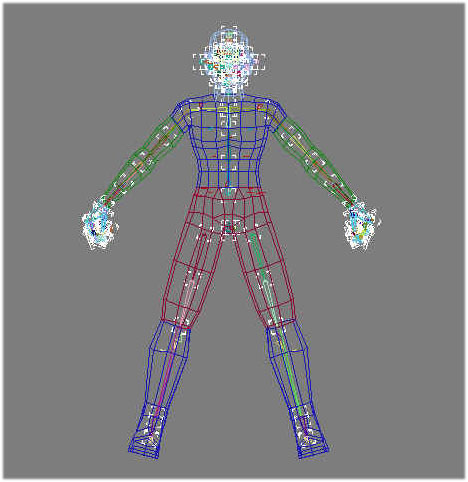
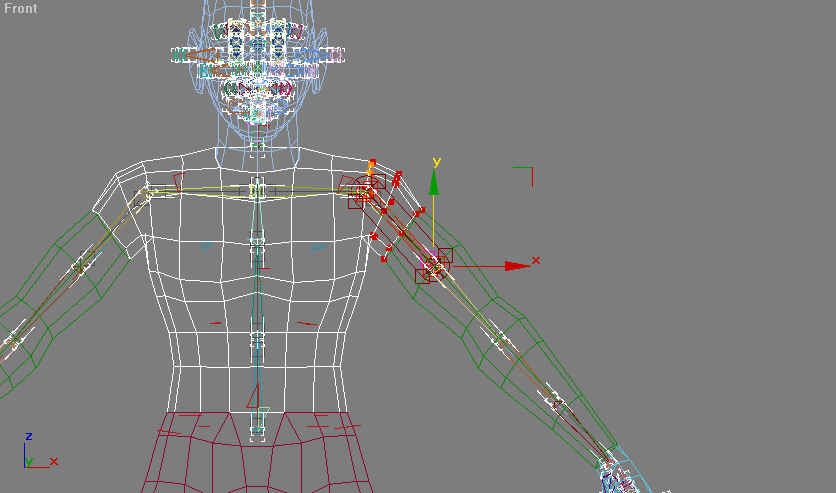
You should now have your character model overlapping the skeleton; that is what we want. If, for whatever reason, your character model has shifted, or is not lined up with the skeleton, line it up with the skeleton by moving your model
DO NOT MODIFY THE SKELETON. JEDI KNIGHT DOES NOT LIKE THIS... just some advice there... others have attempted this, but it simply results in problems.
What you should do first is link the bolts to their appropriate bodyparts of the model, or simply hit the "H" key, select all files named "bolt", and link those parts straight to the model piece, hips.
Next step? Skinning with the skin modifier!
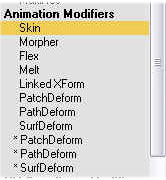
Select a mesh body part of the character to start with by clicking on it in Max, then go to the Modify Panel and choose Skin modifier.
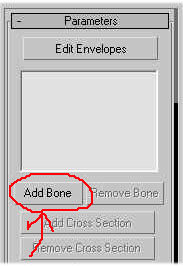
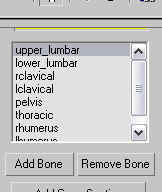
Next, choose Add Bones under the Skin Modifier rollout panel. You will get this screen:

Through here, you would select the appropriate bones for the bodypart -- I have named them below and explained what to blend the weights into.
OK! Those are the basics to get you started on adding bones to a model. Now, you have to modify the weights of the verts!
Modifying Bone Weighting within Max
After having added bones, go to "Edit > Envelopes" as seen below:
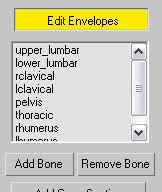
Select the bone that you would like to add weighting for:
Scroll down the Skin modifier rollout to Paint Weights:
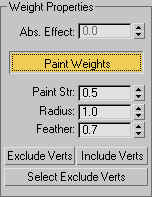
Change its radius to a smaller number to allow more precise weighting (it defaults to 24.0). I try to use between 1 and 5 units to be more accurate.
Paint the weights onto your model for each bone by left clicking on areas with vertices on the model piece. To undo any painted verts, hold alt and left click on the verts that show up colored, and they should be removed. Wash, rinse, then repeat for the rest of the model!
For dismemberment, I highly recommend using simple weightings at the points of dismemberment. For example, at the neck, make all points around the spot that will separate the head from the neck weighted to the cervical bone. Or, for the arm, if you are dividing near the shoulder, make both sides of the vertices all linked to the Rhumerus or Lhumerus bone so that you won't see them breaking apart in-game.
The colors for weighting use a colder/hotter indicator; vertices that are blue, cold, have less influence; vertices with a red color, hot, have full control.
Examples:
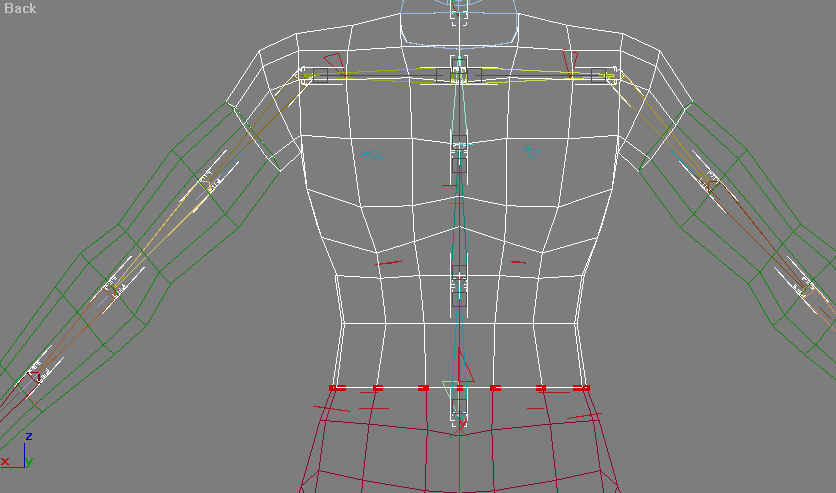
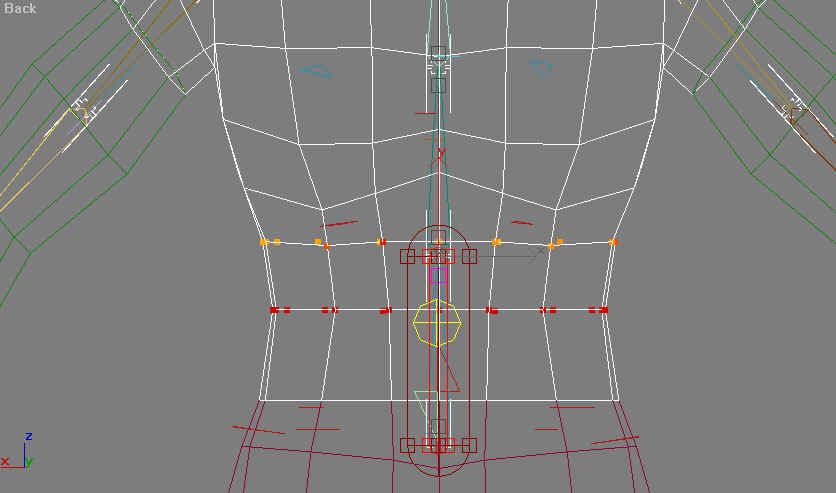
The weighting setup follows the layout of the skeleton; any model vertices located around the bones should be assigned to those bones. While weighting, you can easily check the weightings and how the mesh will deform to the skeleton by selecting the bone and rotating it with the Max's rotate tool.
Next I have a breakdown of what model parts should be linked to what parts of the skeleton!